So as a first little doozy, I thought I'd drag over a tutorial I've had up for a while on DakkaDakka. I hope that it will be useful to anyone hoping to magnetise up a Grey Knight Strike Squad.
>What initially intimidated me was how to deal with two-handed weapons and special weapons. It seems rather simple now but it genuinely bewildered me at the time and took a lot of trial and error to get 'right'. So the guide focuses on two-handed stuff.
Okay, this is intended as a short guide to show how I magnetise up two-handed (2h) weapons and special weapons as, from what I could see, no guide actually covers this and instead seems to deal with one-handed (1h) stuff. I wish I had more pictures, but as a lot of work required two hands, it was difficult to take pictures; I'll thus try to describe with as much detail as possible what to do where my pictures are insufficient.
In my opinion, if you are magnetising your GKs so that you can take every possible weapon configuration, then you want to pose all of your models to hold the 2h stuff. If you need to switch out your gear, you'll find the 1h weapons will fit easily enough and not look too bad. If the poses aren't doing it for you, magnetising the left arm can also allow a bit of repositioning when you change the weapon options. I just think it's good sense to use as many 2h weapons as possible since it frees up your 'reserve' 1h gear.
I am unsure as to this time whether or not you can swap the Incinerators easily with Psycannons, but they look the same size to me and use the same arms, so I see no reason why they shouldn't fit nicely.
What I used:
-A handheld drill
-A 2mm drill bit
-GW superglue
-2mmx1mm magnets (wide enough to be fairly strong, but not very deep, so they fit into Marine hands practically perfectly)
Here's an example of a 2h posed model switching out:
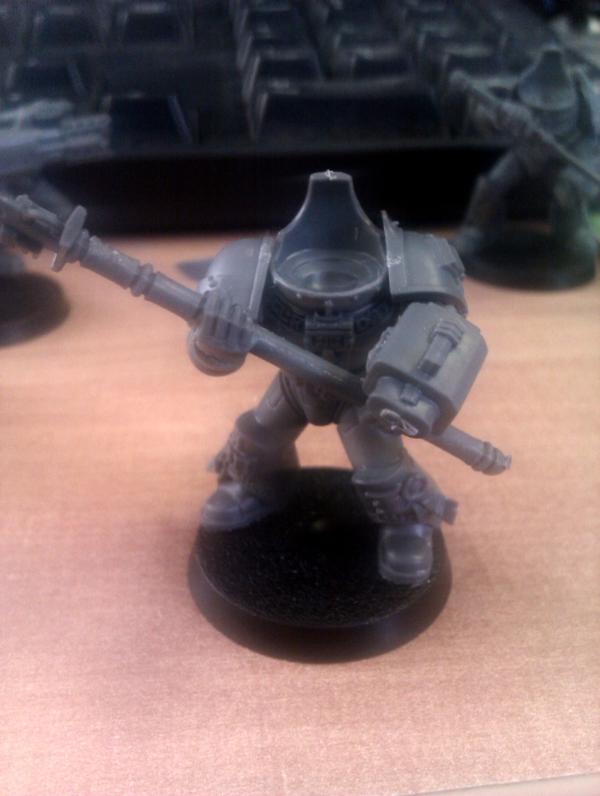
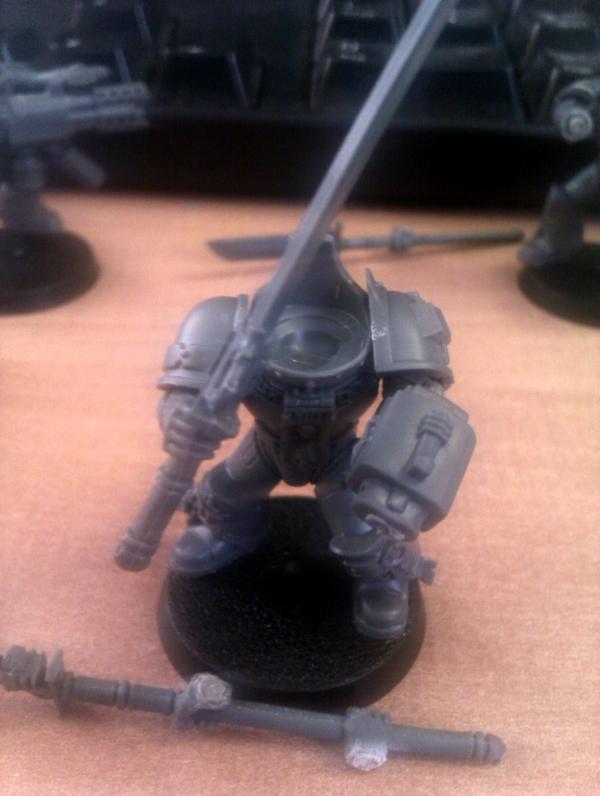
Anyway, this is probably a no-brainer to most people. But ensure that you read the instructions that come with the kit and, when you choose your 2h weapons, use the correct arms! I was a bit of a fool and put together so many arms simultaneously that I mixed them up. It took a lot of trial and error to get everything right again; I think other people should be saved this hassle and know to be careful :P
Here's what you need for both the special weapon and the 2h sword (which fortunately uses the same arms as a Daemon Hammer and is actually immediately interchangeable if you magnetise the left arm to allow mild re-posing) and a special weapon:
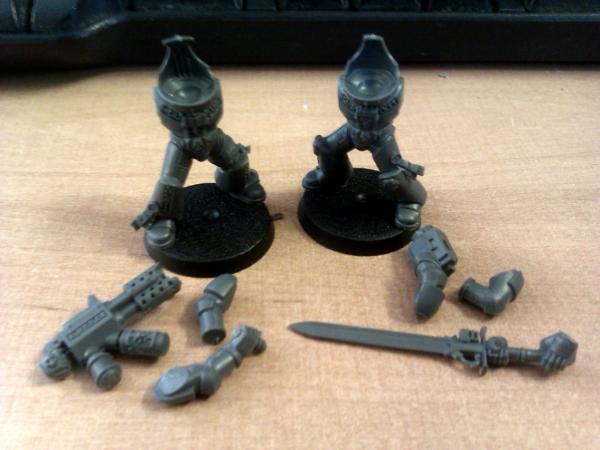
Special Weapons
First, drill a hole in the left side of your marine's torso (I glue on the right arm to save magnets). I use a handheld hobby drill and like to start off light so I make a slight scoring; thataway I can see if I am on target (i.e. on the centre). If you find you're off, the scoring is slight so you won't be guided back into the hole you started drilling. I'd recommend always scoring your model before you start drilling proper. If you've made a bigger hole than you should have, you can 'point' the drill in the direction the hole should be and reposition the hole, albeit, now a bit bigger than it should be. But GS/superglue can fix this.
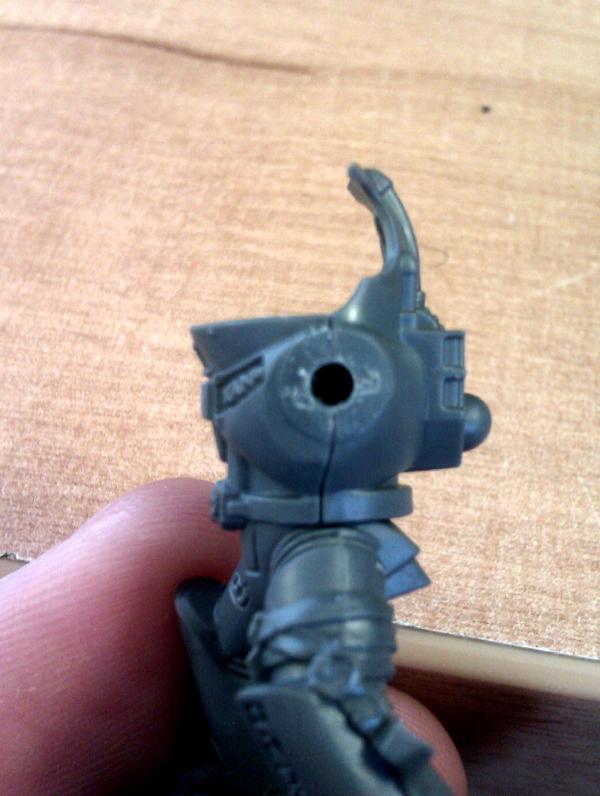
Do the same with the left arm, try to line it up with the torso as best as you can; again, score the arm and hold it up next to the torso to see how well you've done:
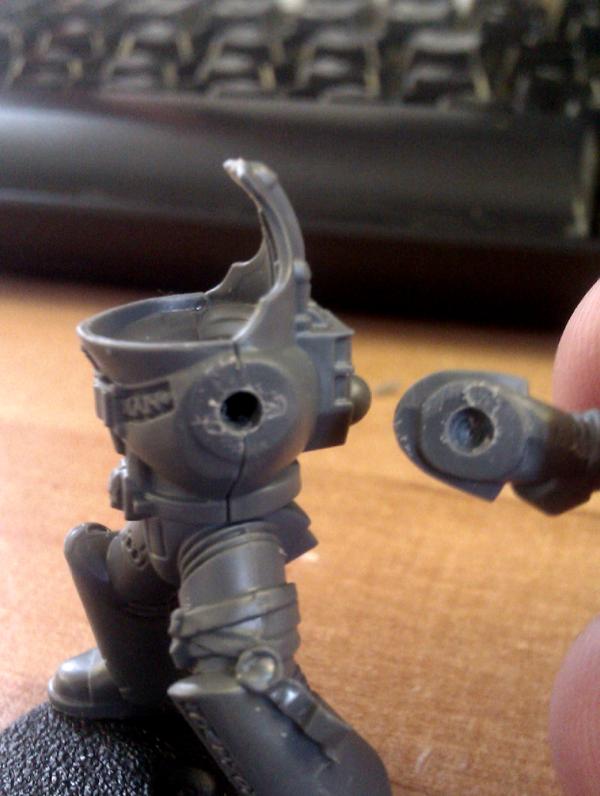
Apply superglue to one of the holes, then put in a magnet, do the same for the other hole. I like to keep the magnets stacked onto another GK's weapon (or arm, if relevant) so I remember the polarity. For example, if I'm glueing a magnet into a GK's torso, I'll grab an arm I've already done and stack the magnets on it to ensure that the polarity will be correct. If you are doing a magnetised army, you want *all* of your minis and weapons to have the same polarities on their stuff. There is nothing more irritating than getting this wrong as it can be very difficult to retrieve your magnets, so use caution!
Next, drill into the hand holding the special weapon (in this case, an incinerator) and the right arm. Notice that the 2mm hole is pretty much the maximum size possible:
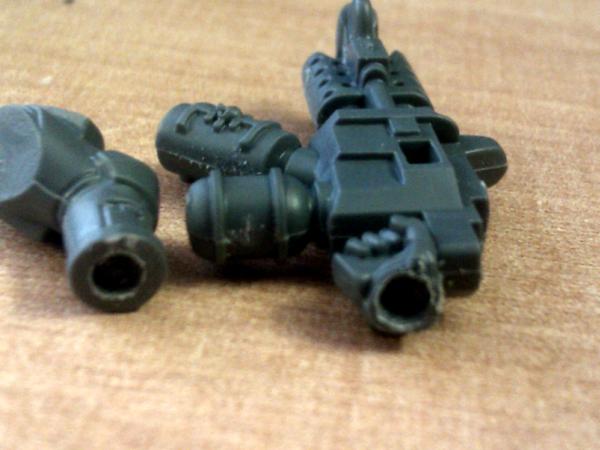
Apply the magnets
Here's what you'll have (hopefully):
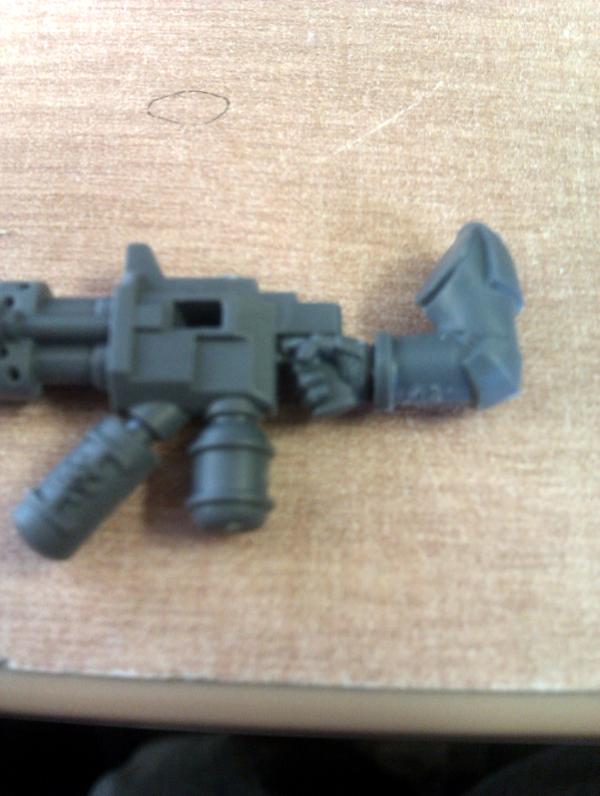
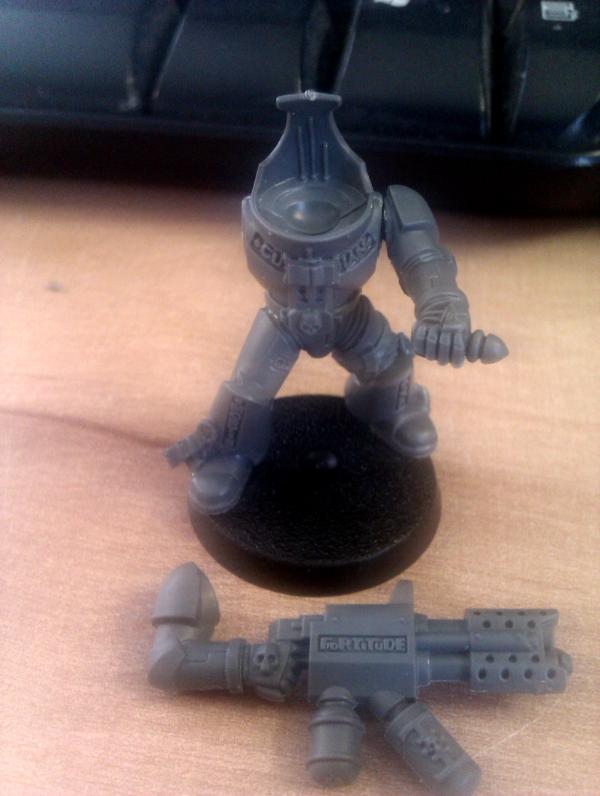
Pop on the left arm and glue the right, whilst it's still malleable, position the right arm, using the left arm as a guide, until the weapon lines up nicely with the grip. You are then done:
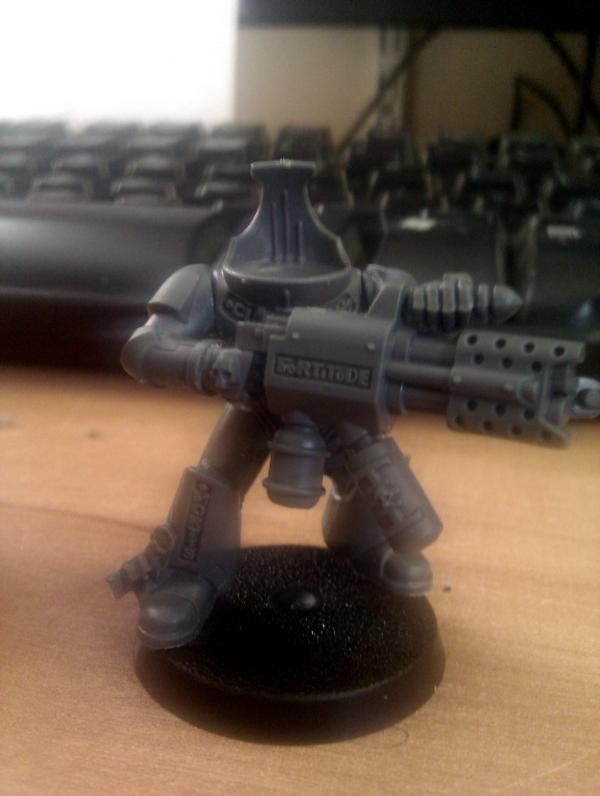
Edit: I've said it already, but just to be clear; I glue the right arm and position it whilst the glue is wet. You could magnetise it if you wish, but I prefer to save the (rather expensive) magnets and just pose the left arm to suit the right if I happen to change the weapon loadout.
You'll see that I didn't get it perfect, but I am by no means proficient at this yet!
Swordsman/(M.C.)Hammer
Drill the hands on the sword:
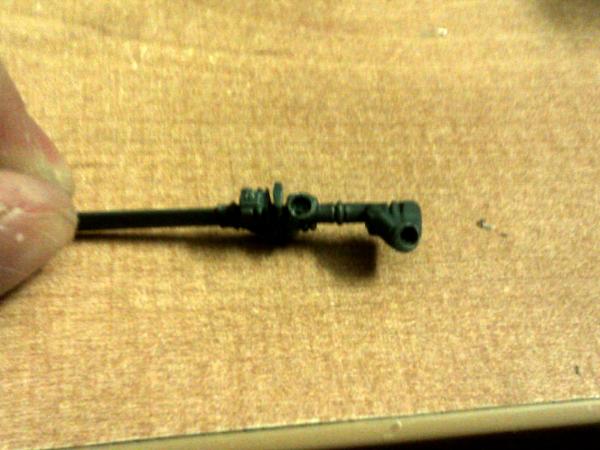
Magnetise them, then magnetise the left side of the torso and left arm.
Pop the arms onto the weapon, use the magnets to let you position the weapon onto the torso as pictured, you will then know where to glue the right arm, just like with the special weapon.
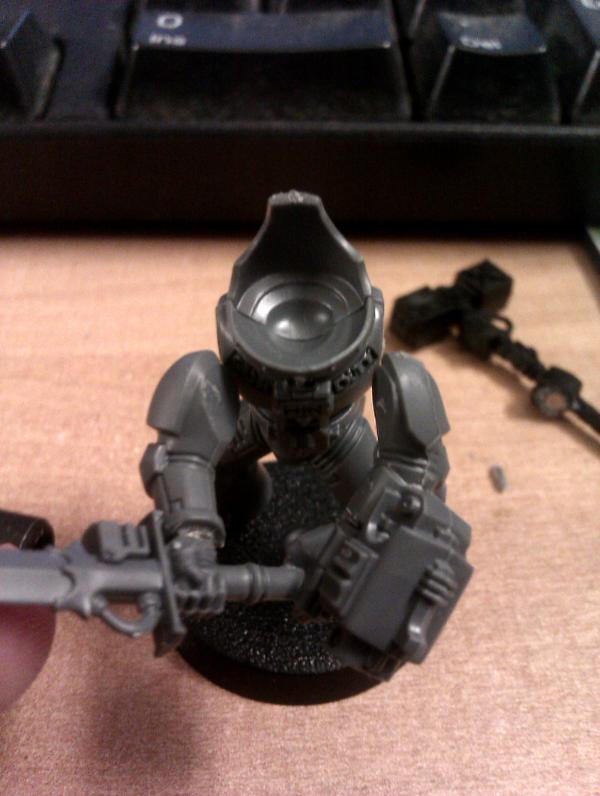
(Ignore the fact that the picture has no magnet on the left arm)
You're then done!
Finished product (same pic as at the top):
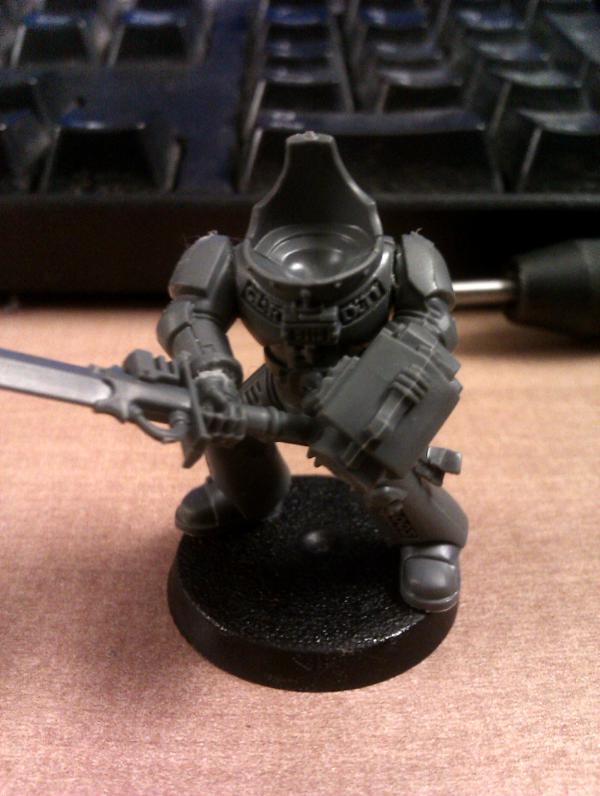
And there you have it, pretty easy. I found the process very intimidating at first as I had no idea how to go about it, but a little bit of trial and error got me there in the end (I think my biggest mistake was glueing on left arms, although it's possible to do all this with both arms glued, it means that my Justicars can't easily swap their DHs for 2h swords, which would free up some of the 1h variants). Hopefully what I've put here is enough to magnetise up a whole squad as, obviously, if you can magnetise up 2h stuff like this, 1h stuff is a picnic! Again, I recommend using as much 2h stuff as possible so it can be switched to 1h reserve gear. This wasn't something I realised until about half my stuff was done, but for my first all-magnetised army, it's a good start and a learning experience.
I hope the tutorial was useful!
My original topic on DakkaDakka
No comments:
Post a Comment